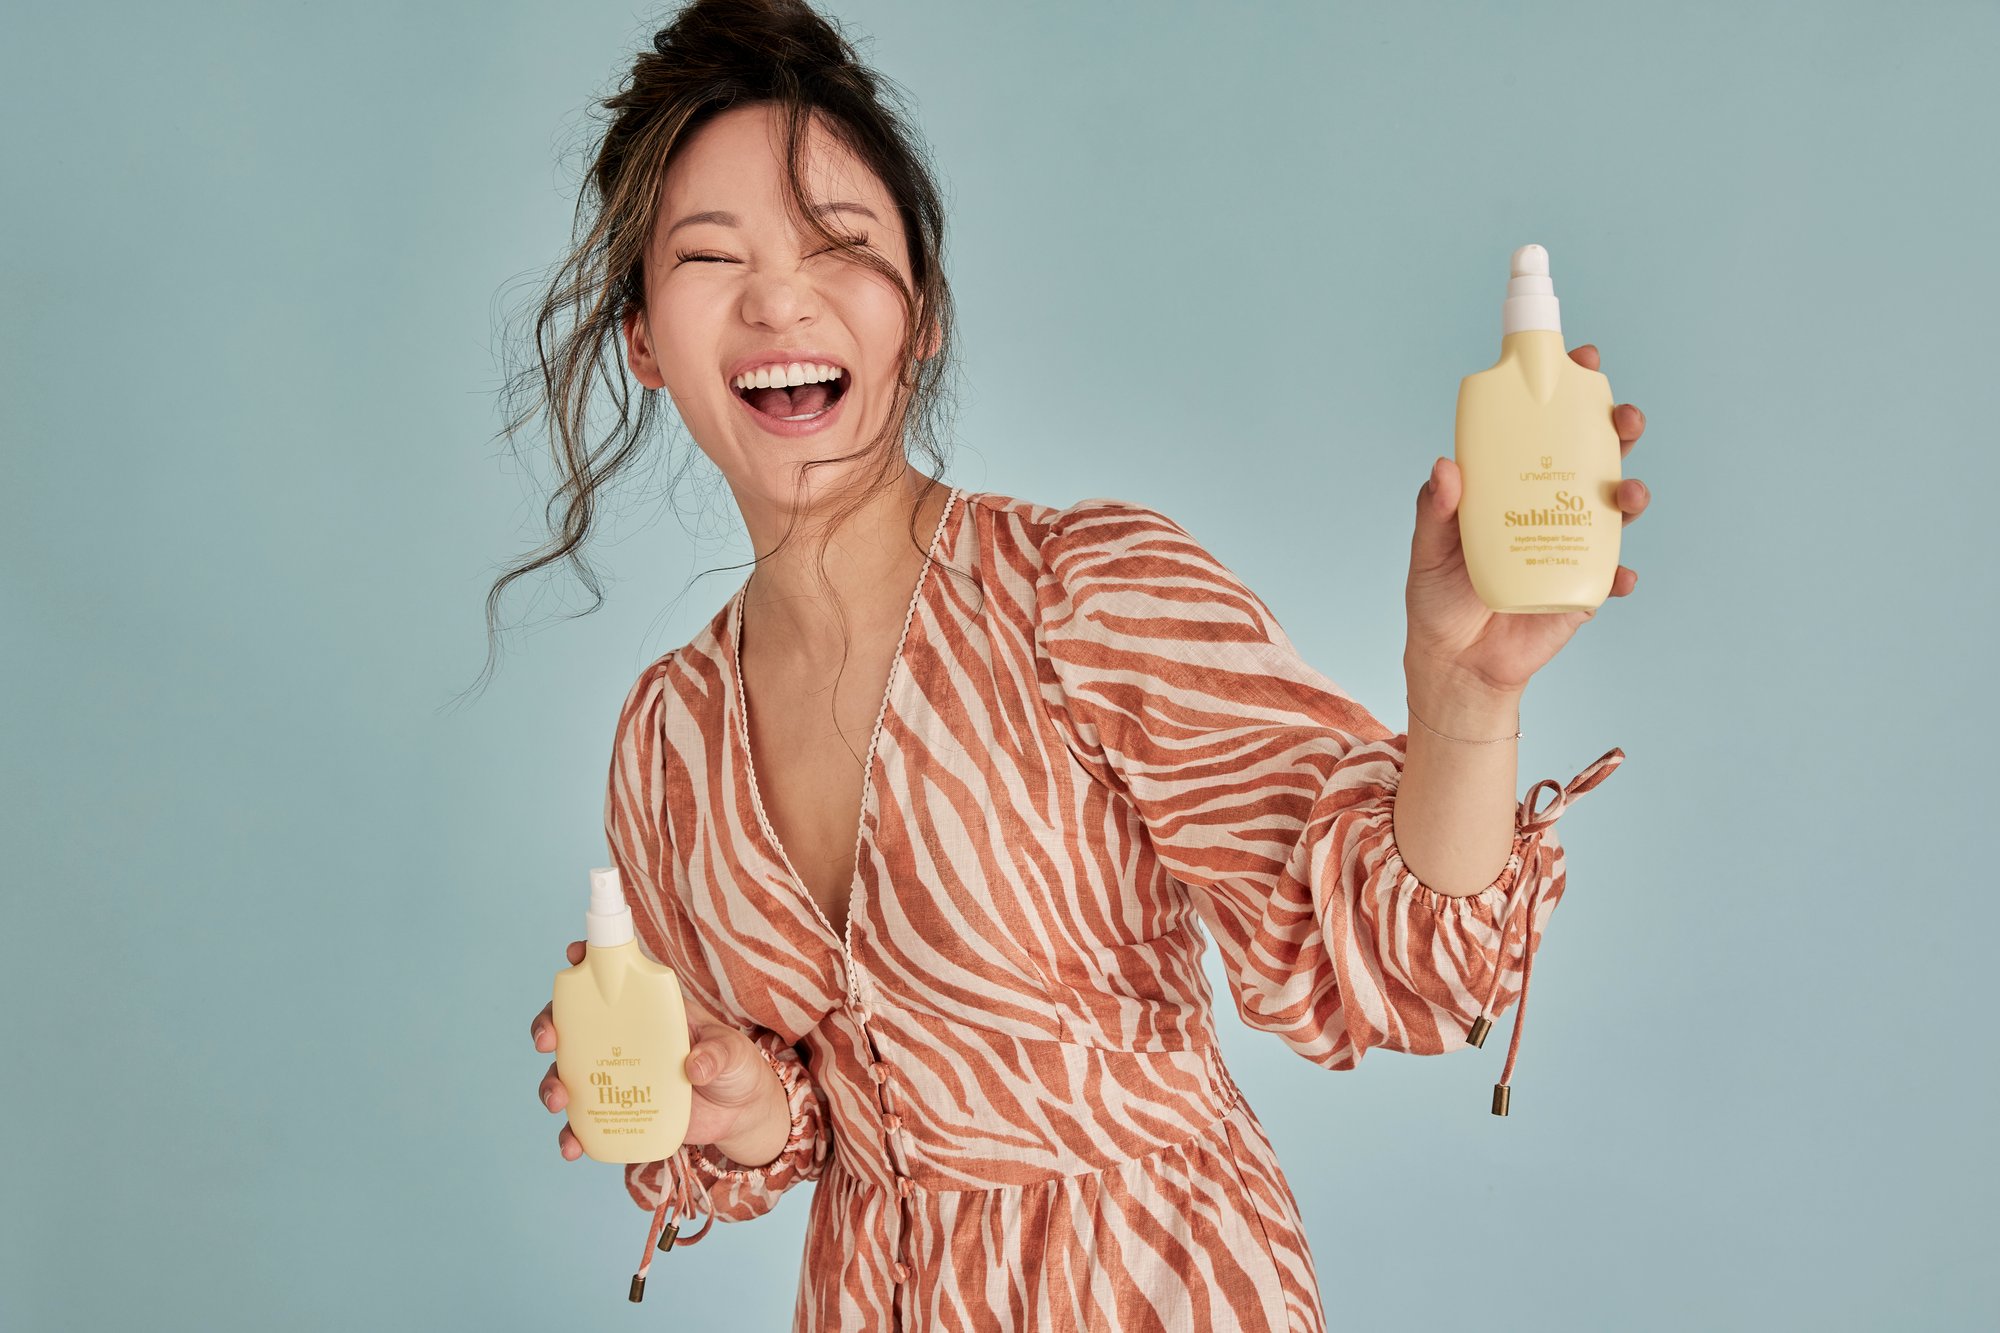


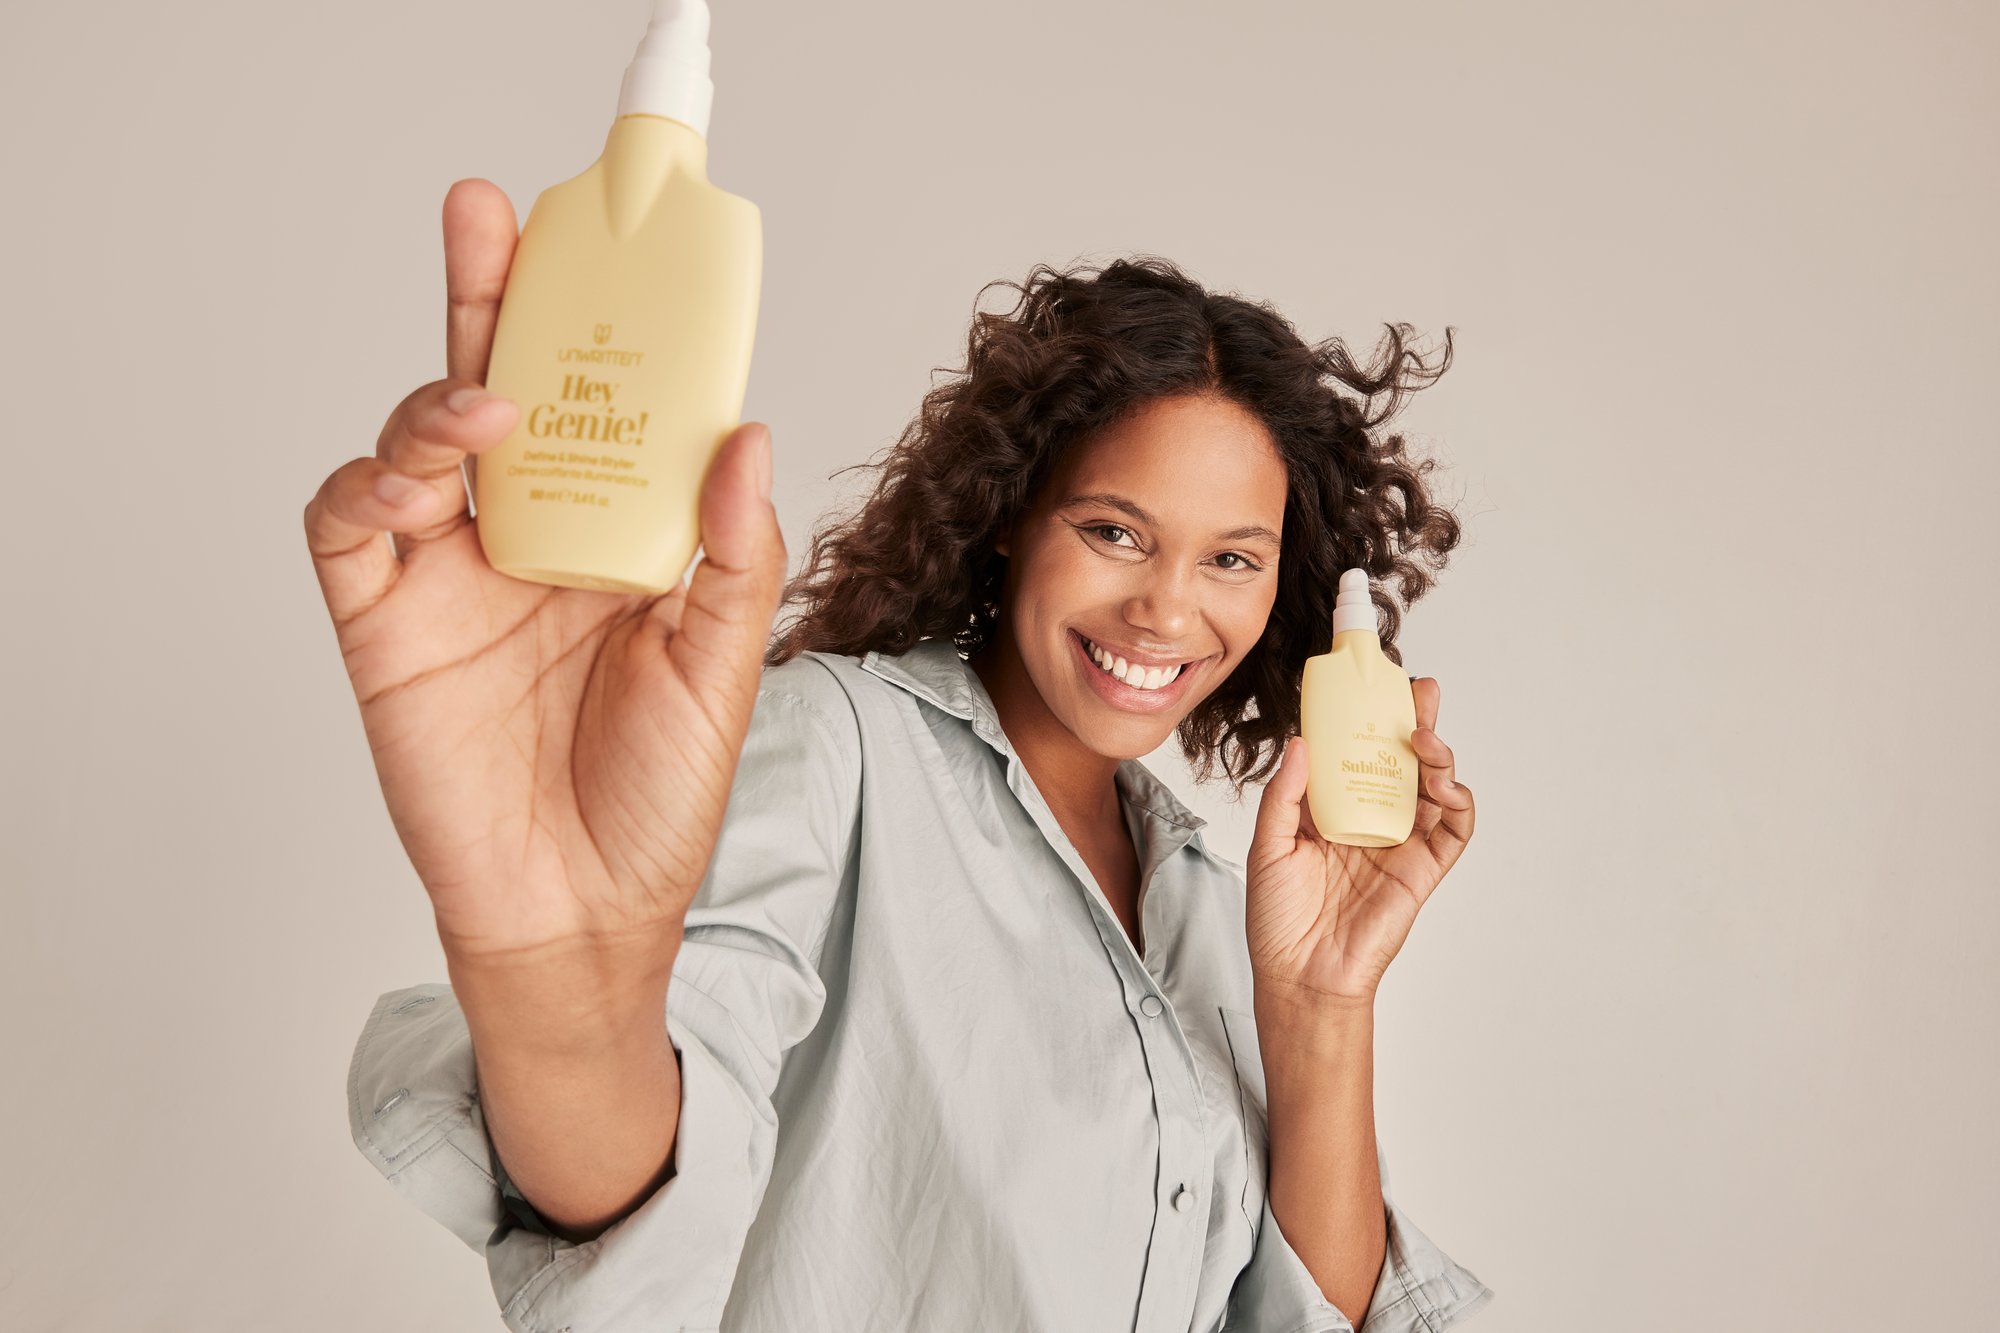

Are you tired of the same old straight hair routine? It's time to switch things up and get those luscious curls you've always dreamed of. With a trusty hair straightener and a little magic from Hey Genie, you'll be rocking stunning curls that will turn heads.

Step 1: Prepping Your Tresses:
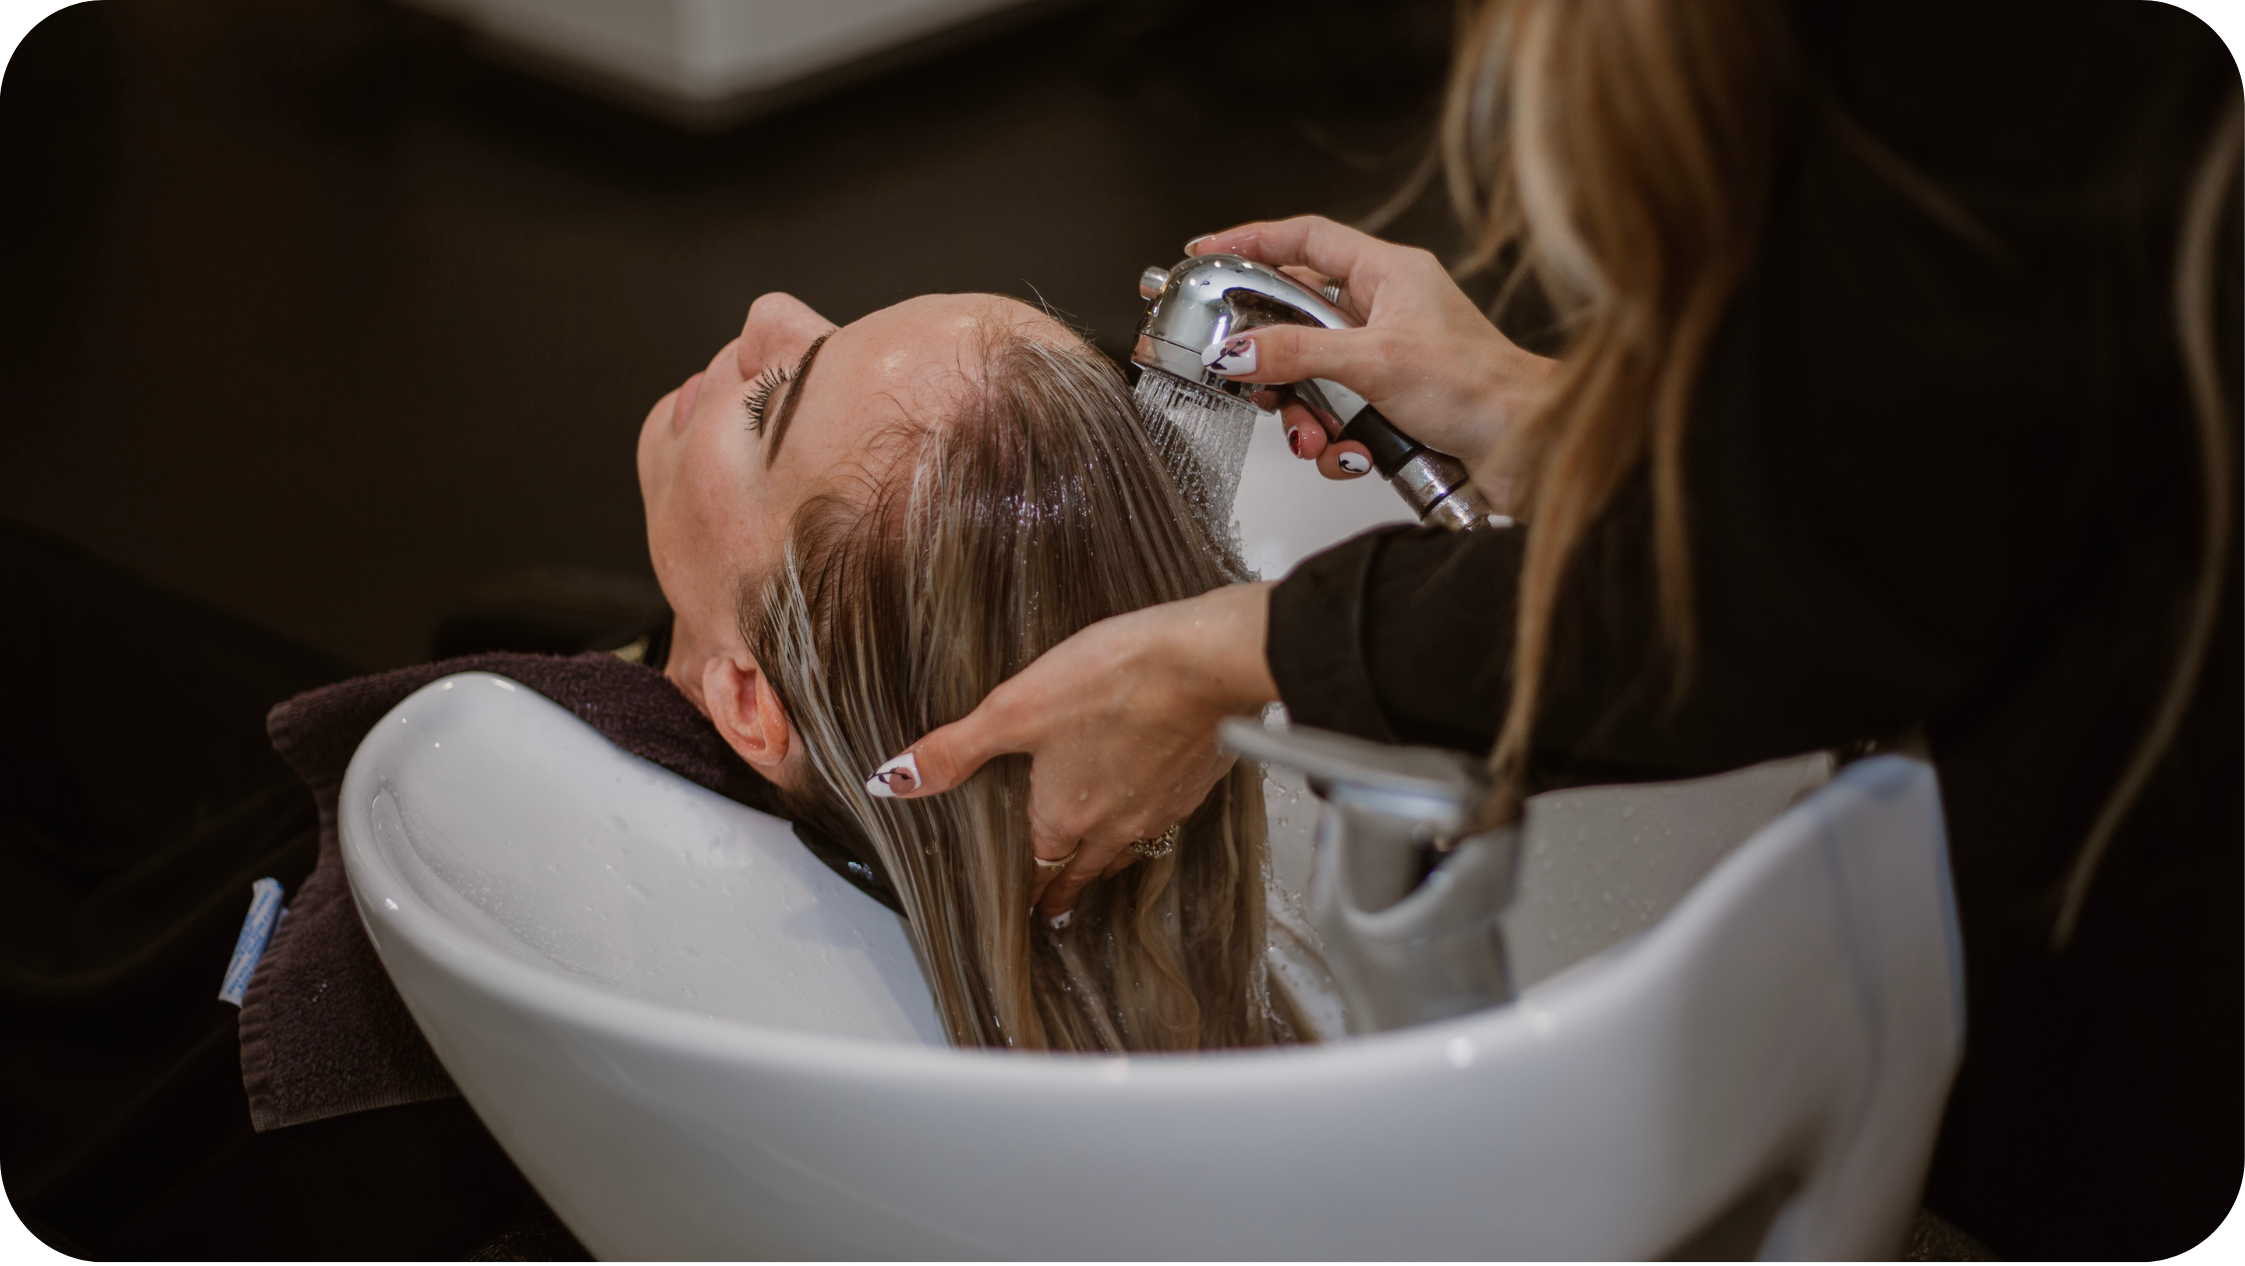
Before we work our magic, it's crucial to prep your hair. Start by giving your locks a good wash and blow-dry. Remember to use a heat protectant, like Hey Genie! to shield your precious strands from any unwanted damage.
Step 2: Sectioning:
To ensure a seamless curling process, divide your hair into manageable sections. Think of your hair as a rebellious genie, and these sections as its tamed wishes. Clip away the sections you're not working on to avoid any tangling mishaps.
Step 3: The Curling Spell:
Now it's time to summon those curls! Take a small section of hair and clamp your hair straightener around it, close to the roots. For looser curls, begin with a larger section, and for tighter curls, opt for smaller ones. Remember, the magic lies in your hands!
Step 4: The Enchanting Twist:
With your hair secured in the straightener, twist it away from your face, maintaining a firm grip. Glide the straightener down the length of your hair, keeping the tension steady. This technique will ensure that the curls hold their shape throughout the day.
Step 5: The Release:
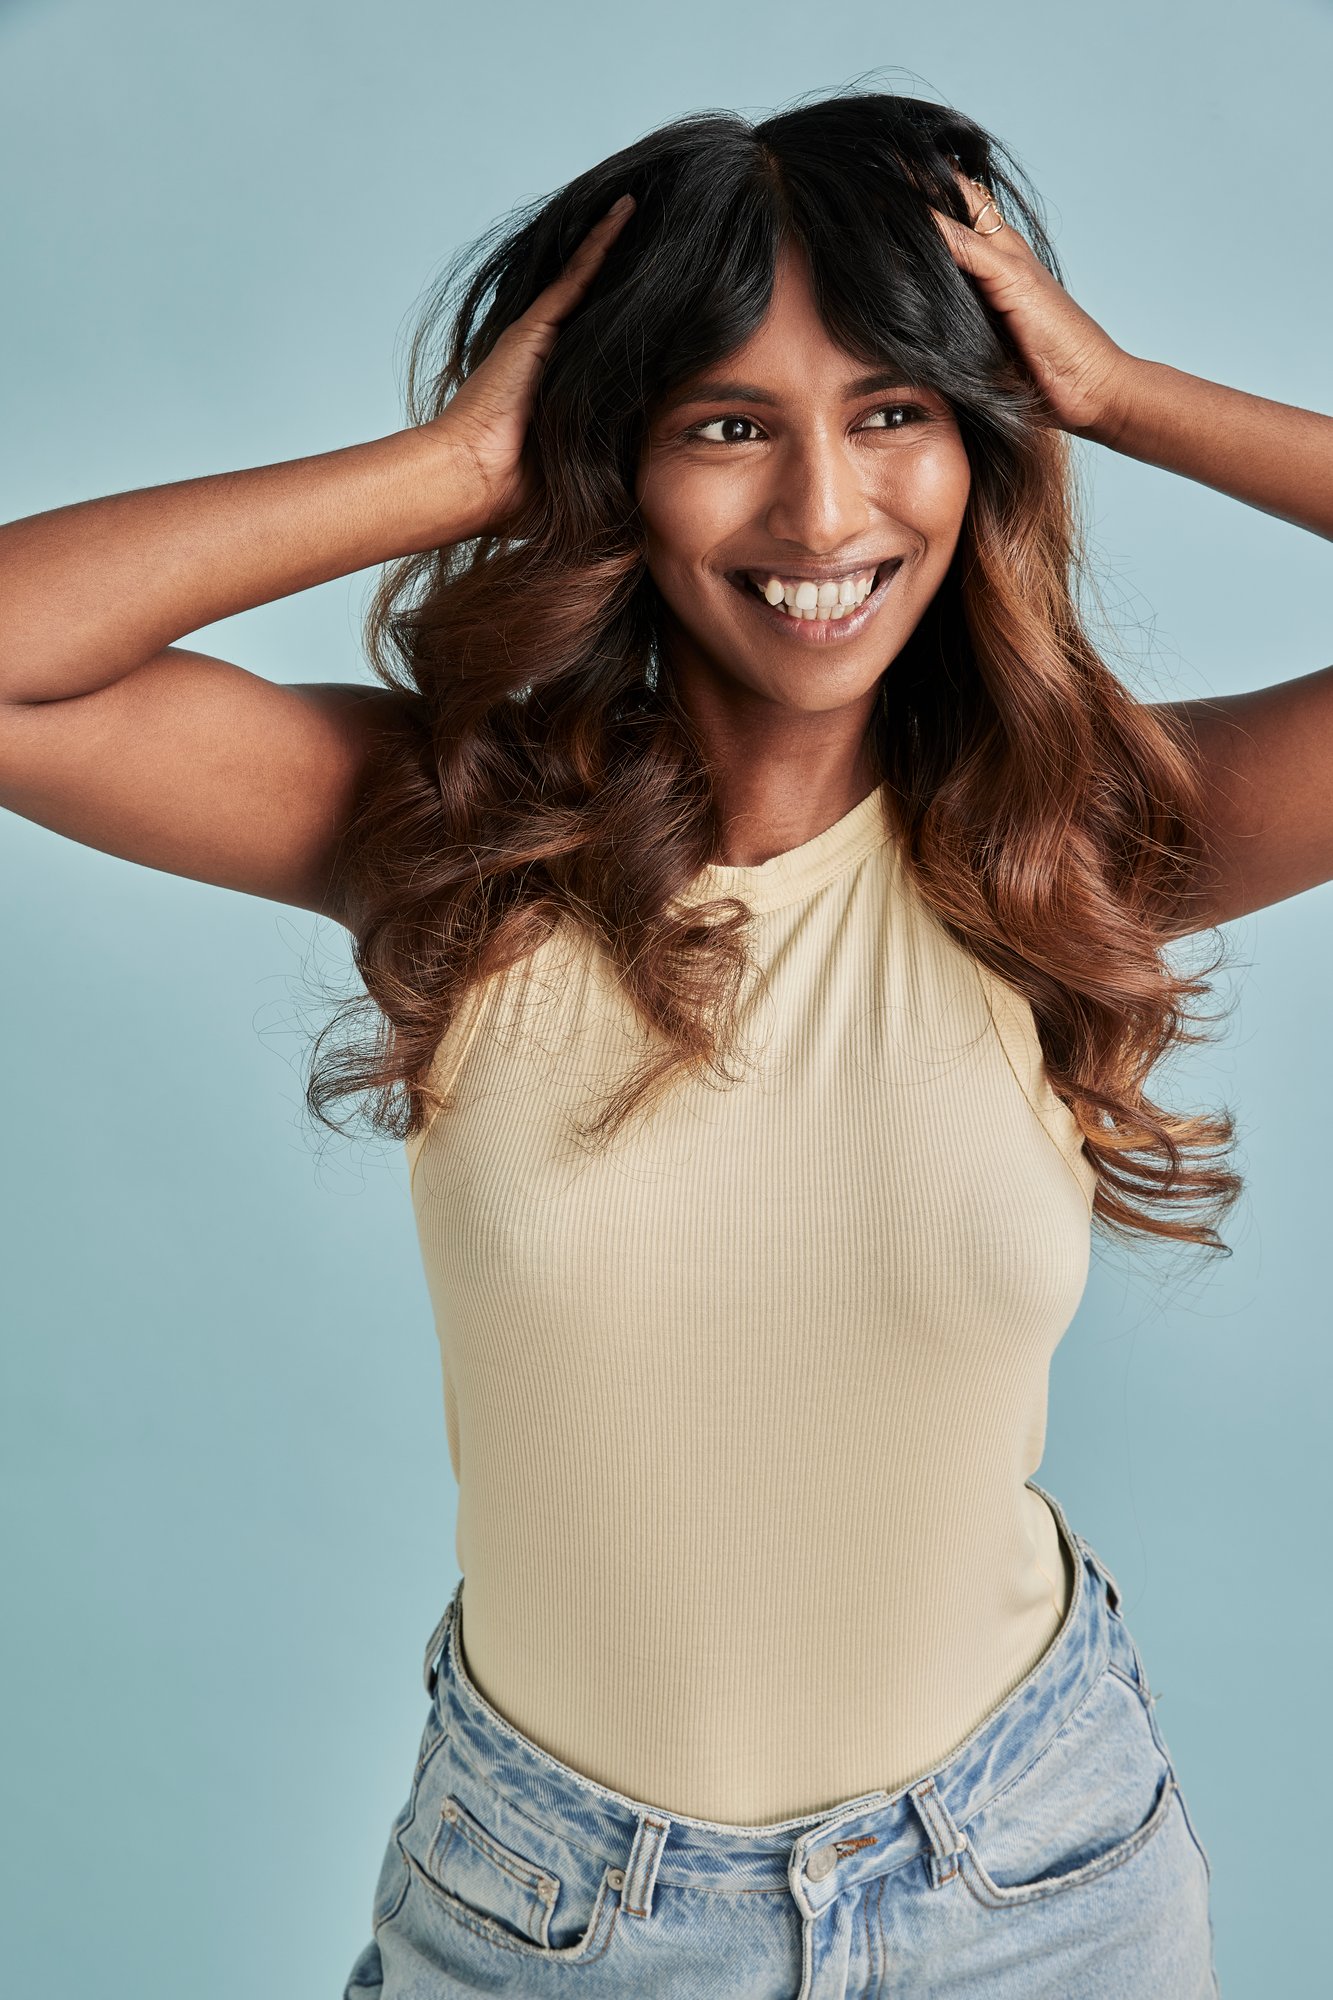
Once you've reached the ends of your hair, release the section from the straightener gently. Watch the genie's magic come to life as your hair transforms into a glorious curl.
Step 6: Repeat the Incantation:
Continue with the same twisting and gliding technique throughout your hair, section by section. Remember to vary the direction of the curls for a more natural and effortless look.
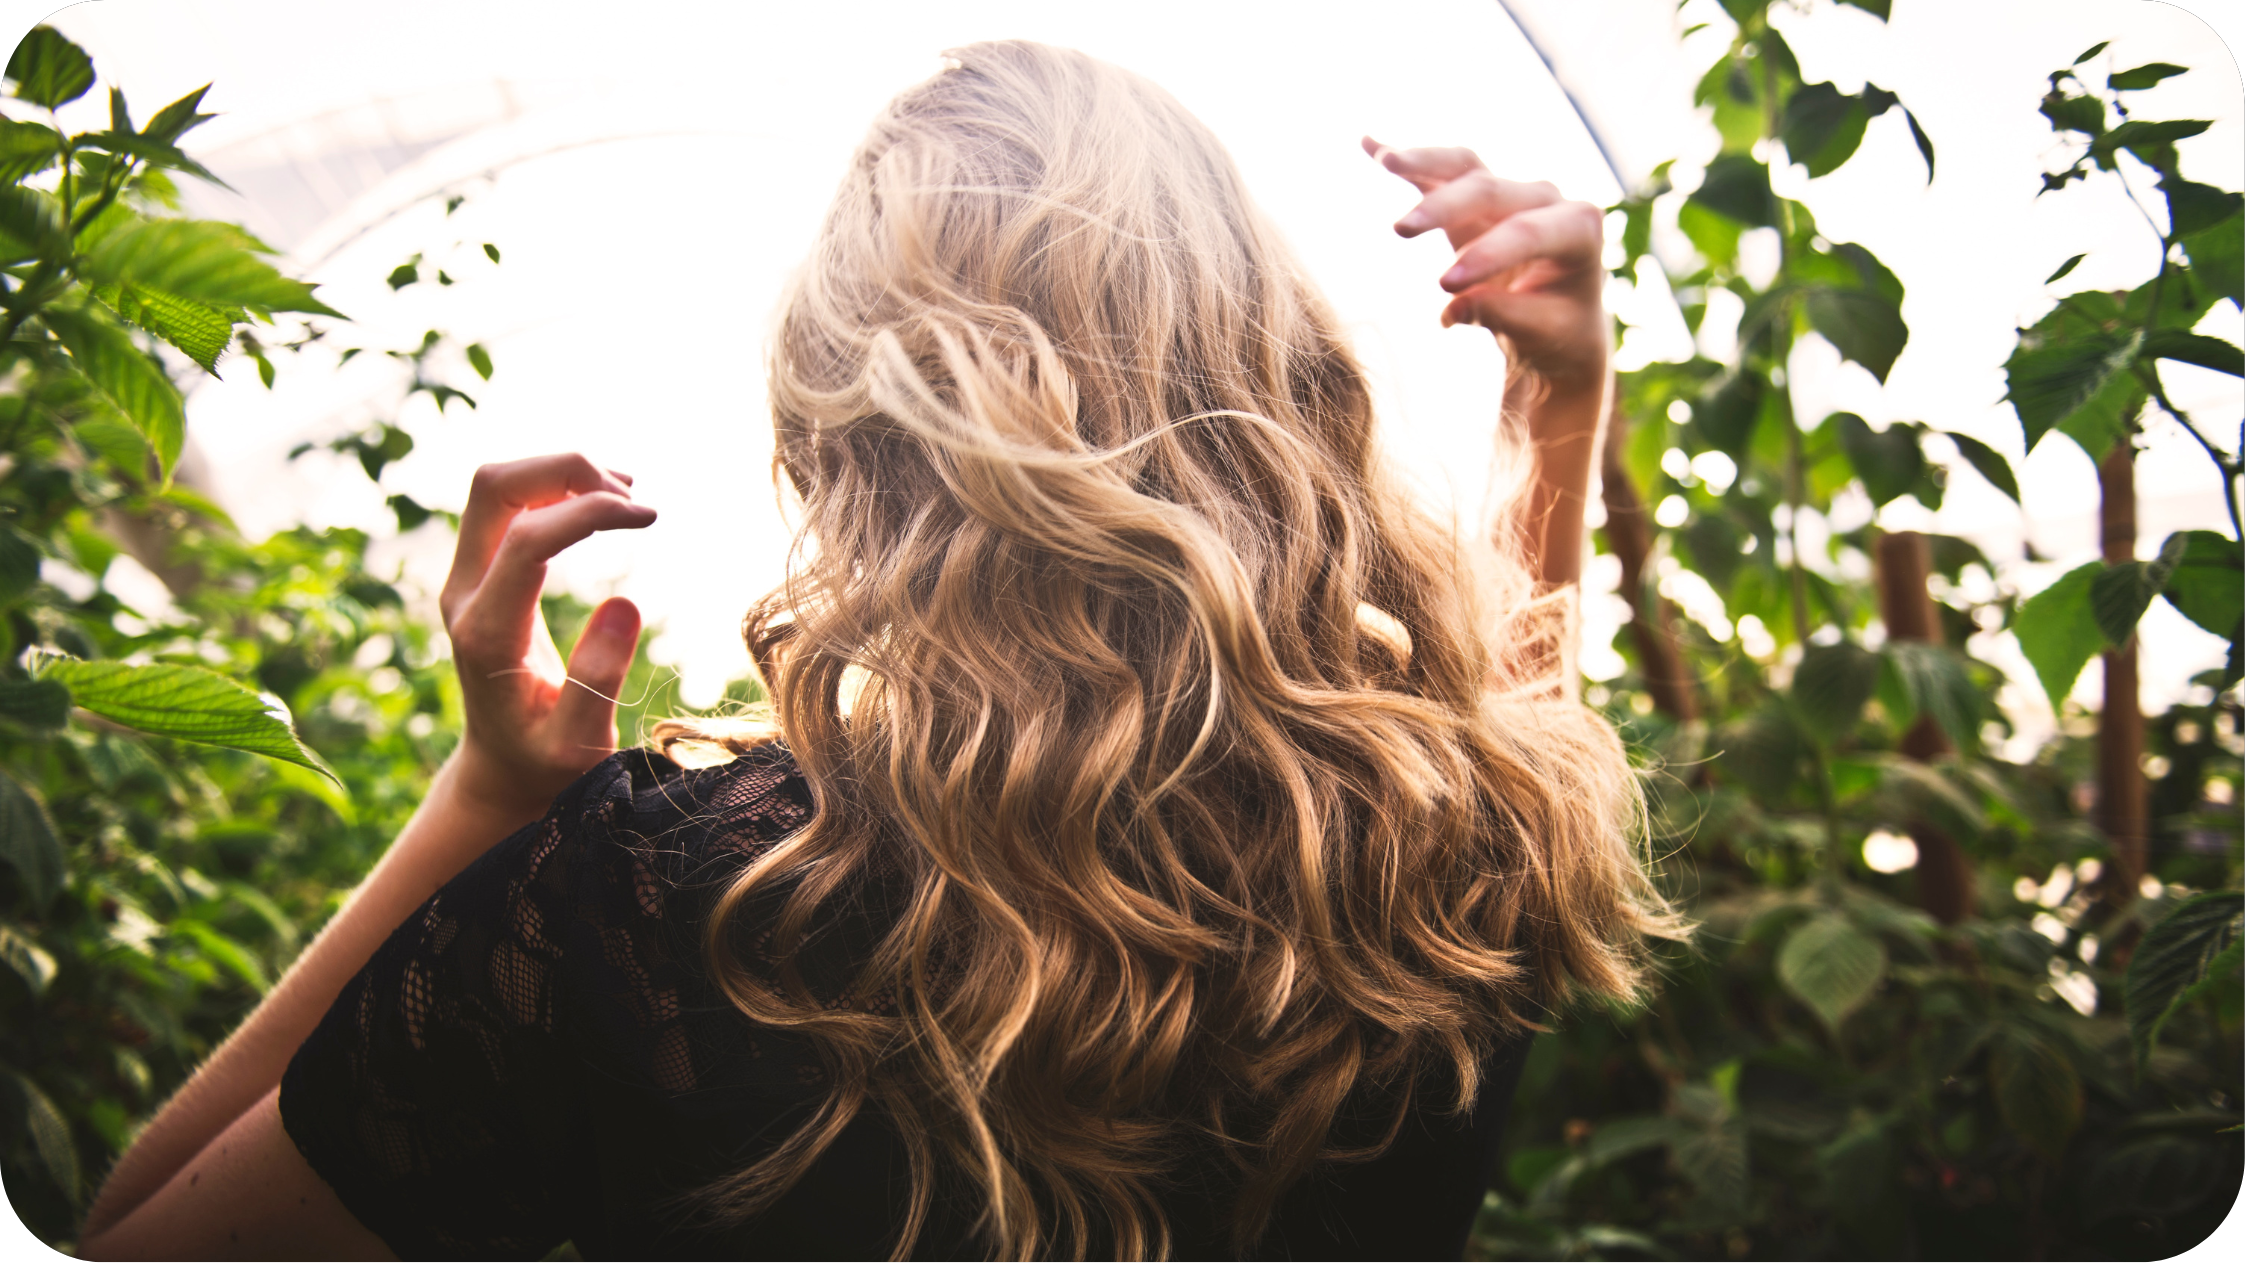
So go ahead, lads and lasses, and embrace your newfound curl power with a cheeky smile and stunning locks. Remember, the secret lies in the twist, the glide, and the magic of Hey Genie.


Comments
Be the first to comment.